On the Application page, designate your travel dates then supply Vehicle, Axle, Load, and Overall Dimension information.
Follow the procedures from the My Queue or the Application page to open an application.
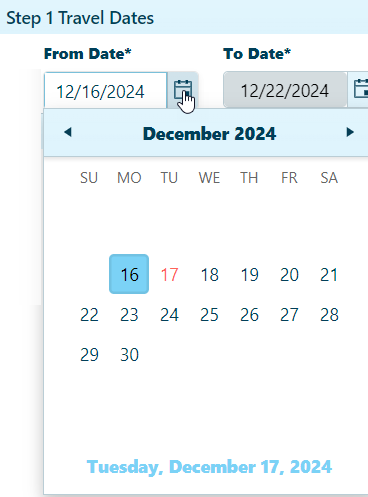
In the Travel Dates area, click the calendar icon to choose a From Date. The To Date will be calculated by the system.
Check the Override Date box if you wish to exempt this application from a fixed effective period.
In the Vehicle Configuration area, you can either choose from a table of stored vehicle or manually enter vehicle details.
Expand the Stored Vehicles/Units section by clicking the [+] mark.
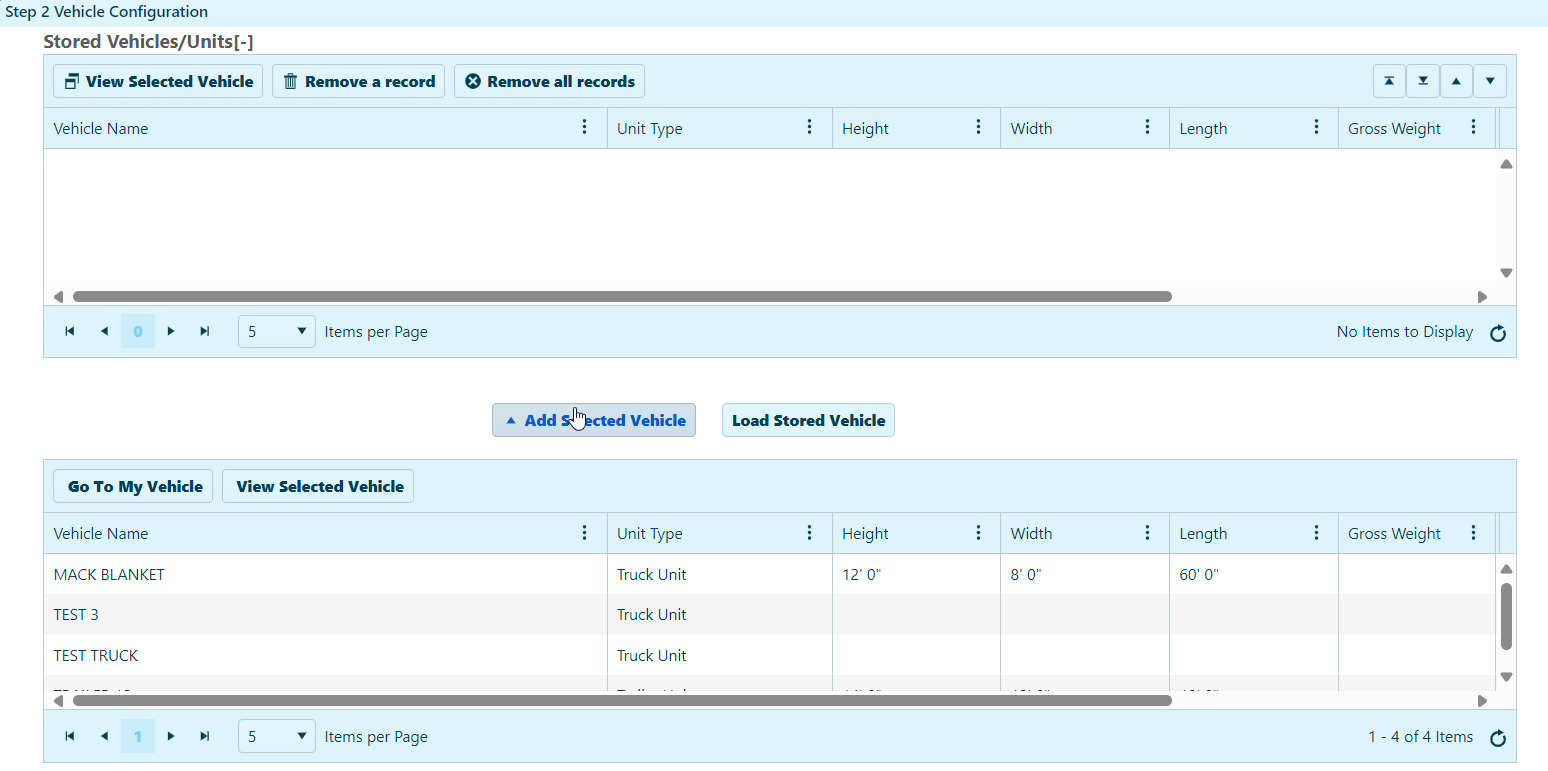
Select a vehicle from the lower table then click the Add Selected Vehicle button.
The chosen vehicle will appear in the upper table.
Select the vehicle in the upper table then click the Load Stored Vehicle button.
The data from the record will populate the Vehicle Information area of the page.
In the Load Information area, expand the Conveyance drop-down and choose from the available options:
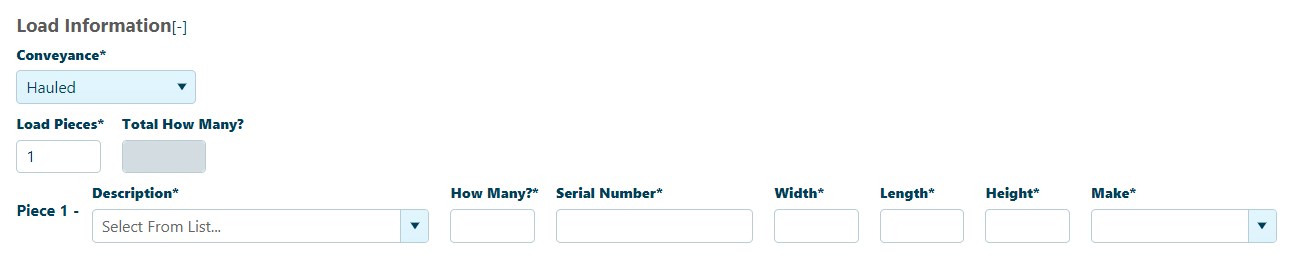
Disabled fields (i.e., grayed-out boxes) cannot be edited; they display values from the stored vehicle information record.
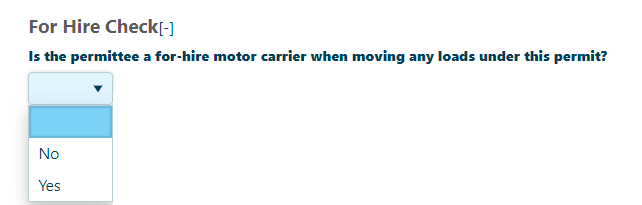
In the For Hire Check section, choose the options from drop-down.
Expand the Vehicle Type drop-down then choose from the available options and enter the mandatory fields.

Your choice from the Vehicle Type drop-down will govern the options that appear below.
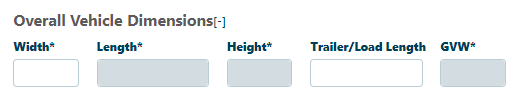
Enter the Overall Vehicle Dimensions.
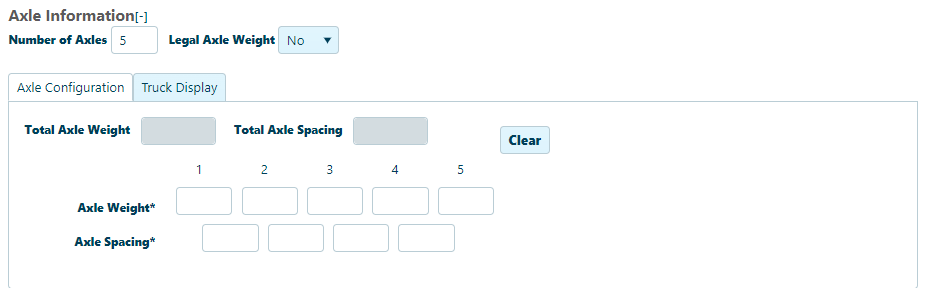
In the Axle Information area, enter the Number of Axles and the Number of Tractor Axles. Supply the Axle Weight and the Axle Spacing (distance between each axle and the one next to it) in the fields provided.
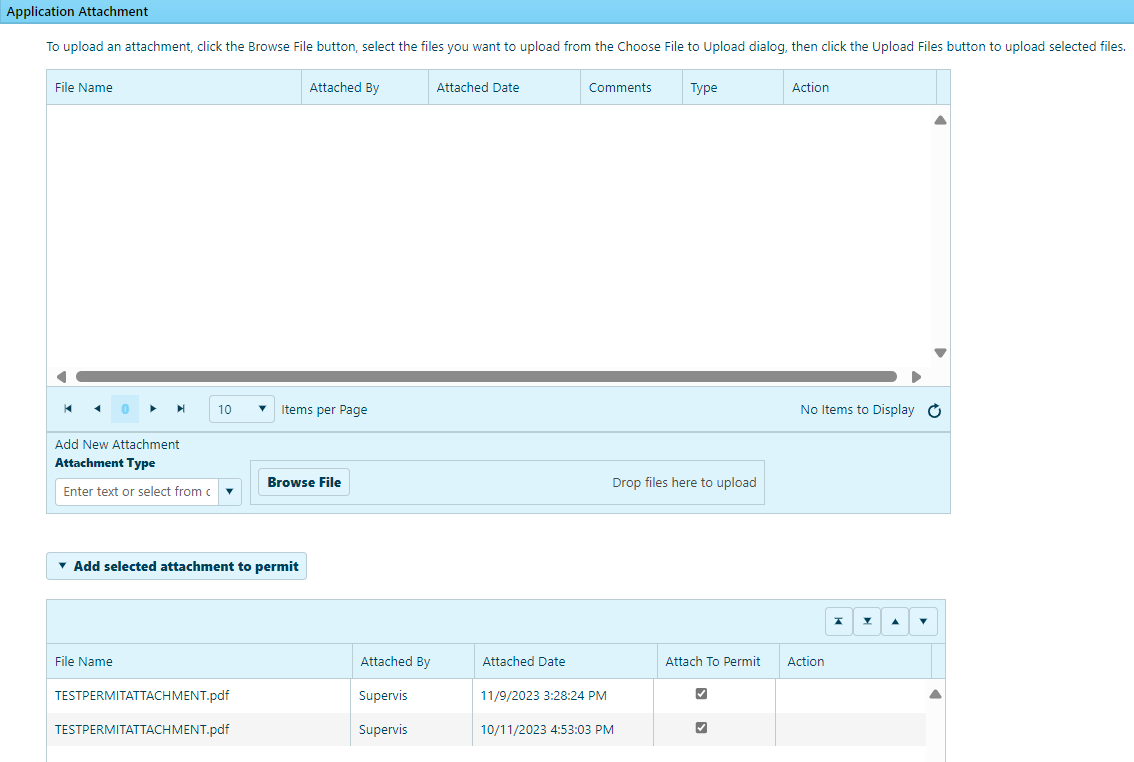
In the Application Attachment area:
In the Comments area, enter any additional information in the text box. Previously recorded comments are organized in the table below.
Click the Save button to avoid losing your application.

Expand the Go To drop-down on the Features bar and choose Trip.