Use the Data Upload Info page to manage versions of the Bridge and Routing data that are retained in the database.
Note: Only one Dataset may have the "Published" status at any time. The published dataset is being used by the system to validate routes.
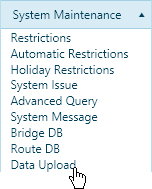
Navigate to the Data Upload Info screen by clicking the My Admin link then choosing Data Upload Info from the System Maintenance pane.
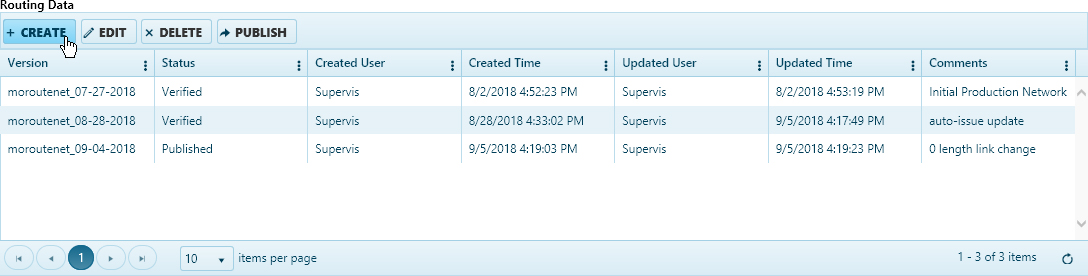
When the Data Upload Info page opens, review the versions in the Routing Data table.
Click the Create a Record button.
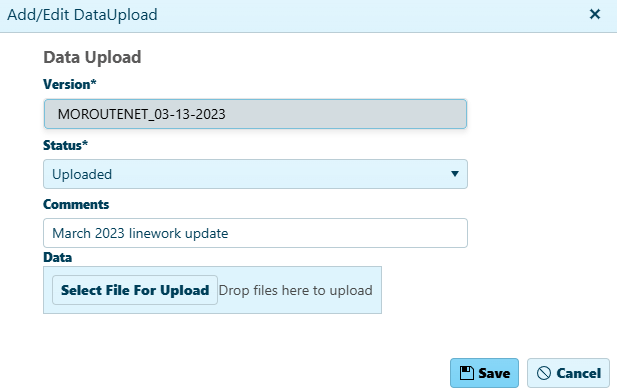
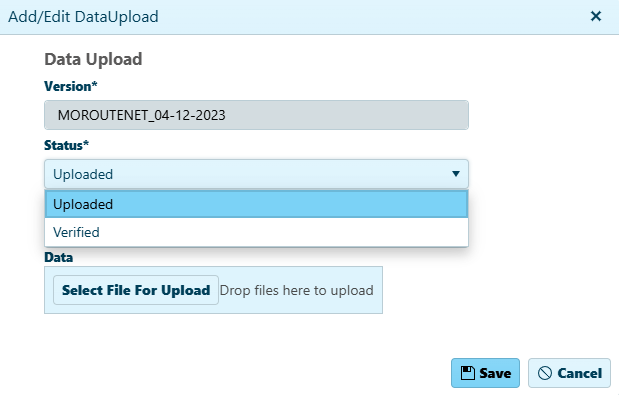
On the Add/Edit Data Upload dialog, click the Select File for Upload button then navigate to the desired .zip file.
A progress bar indicates when the file is uploaded.
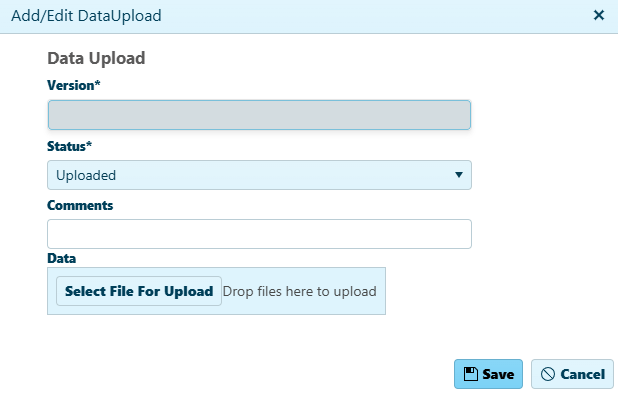
Click the Save button.
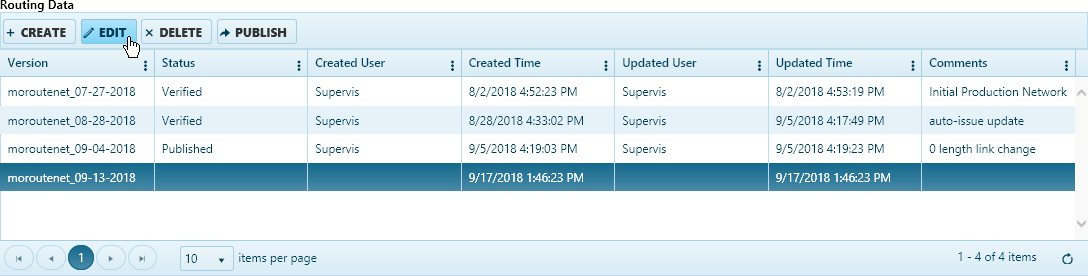
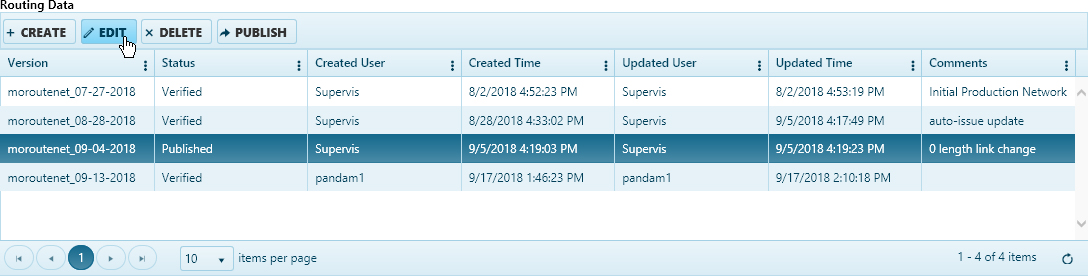
Select the newly created record by left-clicking anywhere in its row then click the Edit button.
On the Add/Edit Data Upload dialog, expand the Status drop-down and choose the Verify option.
Click the Save button.
On the Routing Data table, select the record with the status "Published" then click the Edit button.
On the Add/Edit Data Upload dialog, expand the Status drop-down and choose the Verify option then click the Save button.
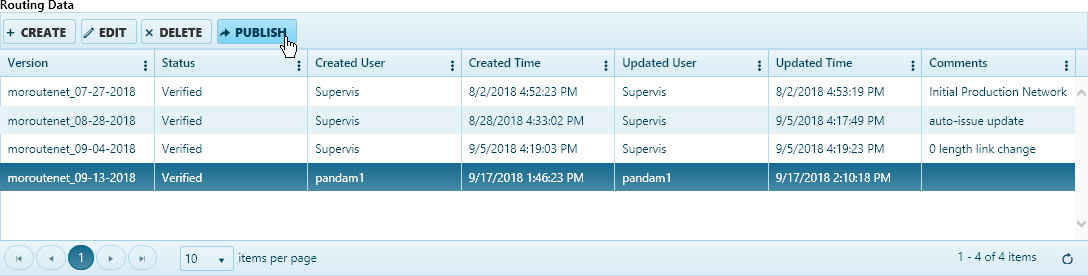
Back on the Routing Data table, select the record that you wish to employ then click the Publish button.
Navigate to the Data Upload Info screen by clicking the My Admin link then choosing Data Upload Info from the System Maintenance pane.
When the Data Upload Info page opens, review the versions in the Bridge Data table.
Click the Create a Record button.

On the Add/Edit Data Upload dialog, click the Select File for Upload button then navigate to the desired .zip file.
A progress bar indicates when the file is uploaded.
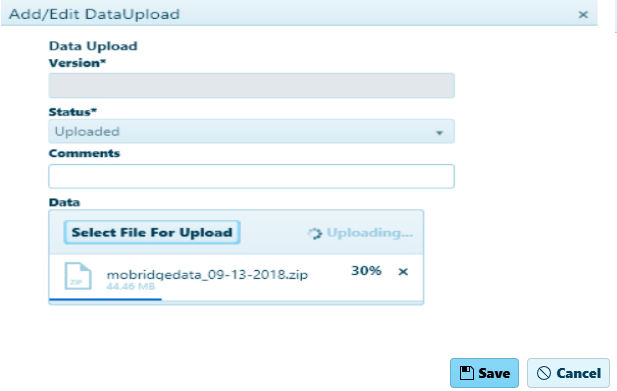
Click the Save button.
Select the newly created record by left-clicking anywhere in its row then click the Edit button.

On the Add/Edit Data Upload dialog, expand the Status drop-down and choose the Verify option.
Click the Save button.
On the Bridge Data table, select the record with the status "Published" then click the Edit button.
On the Add/Edit Data Upload dialog, expand the Status drop-down and choose the Verify option then click the Save button.
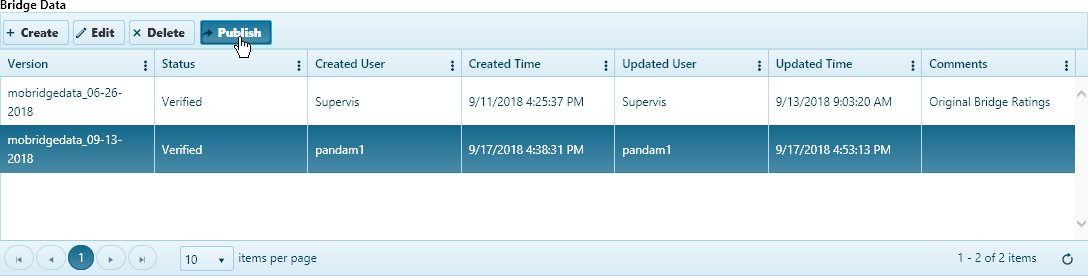
Choose a record from the table then click the Delete button.

The record is removed from the table.